This article is for you if you use Jupyter on your local pc and:
- still upload your latest changes of a program manually to your GitHub account or
- have no version control of your files at all
because in this article I show you how to use GitHub as version control out of your Jupyter Lab.
Install JupyterLab GitHub Extension
The fist thing you have to do is to install the JupyterLab GitHub extension
# if you have pip installed
pip install --upgrade jupyterlab jupyterlab-git

# if you are using anaconda
conda install -c conda-forge jupyterlab jupyterlab-git
Set up Authentication to a Remote Repository Host
After the installation of the JupyterLab GitHub extension we have to set up a authentication, because otherwise everybody could make changes to your GitHub account. To connect to your GitHub account, we are using SSH and the following steps are already described in detail on the extension website:
Before we can connect via SSH to the GitHub repository, we must add GitHub to the list of known hosts. Execute the following line in your Git batch.
ssh-keyscan -t rsa github.com >> ~/.ssh/known_hosts
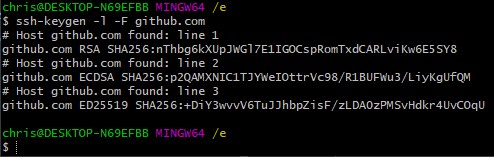
If you later want to verify if GitHub is in the list of known host, you can execute the following line in your Git bash.
ssh-keygen -l -F github.comThe following picture shows the result in my Git bash
Connect your Local and GitHub Repository
After setting up the authentication, we create a new folder that should be our new local repository. Also we create a new repository on our GitHub account that we want to connect. Now we navigate in the Git bash to this folder via the “cd” command and create a new repository in the folder that we created previously. Use the following command to create a git repository:
git initNow we must add a new remote that connects to the https of your repository on our GitHub account.

git remote add origin https://github.com/user/repo.gitNow we have to change the connection from https to ssh, that is described in the following article: connect your local repository via ssh.
The following screenshot of my git bash shows each step of the connection of the local repository with the GitHub repository.

Verify the Setup via an initial Commit
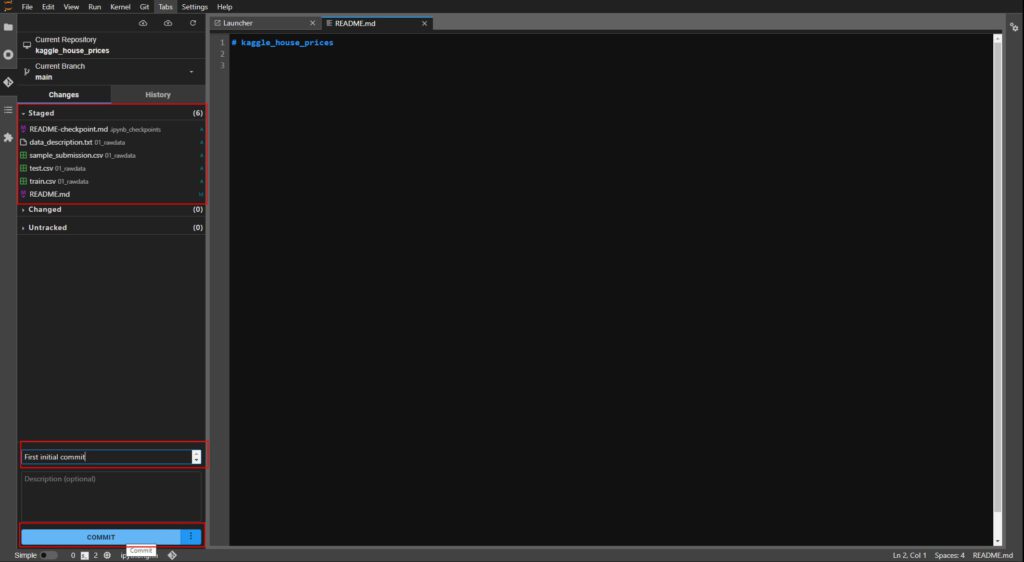
To verify that everything that we setup works correct, we create an initial commit. Therefore, open the Jupyter Lab and navigate to your local new created repository. In this repository your find the readme markdown file that we want to edit. Make a simple change to the file and do not forget to save the file.
Switch to the git extension that you see on the left site of your Jupyter Lab. You already see that all files that you changed or added are listed to the changed or untracked files. Now we can track all files (click the plus sign) so that all files are in the staged environment. At the bottom of the Jupyter Lab, you can make your initial commit and push the committed changes to our GitHub repository.
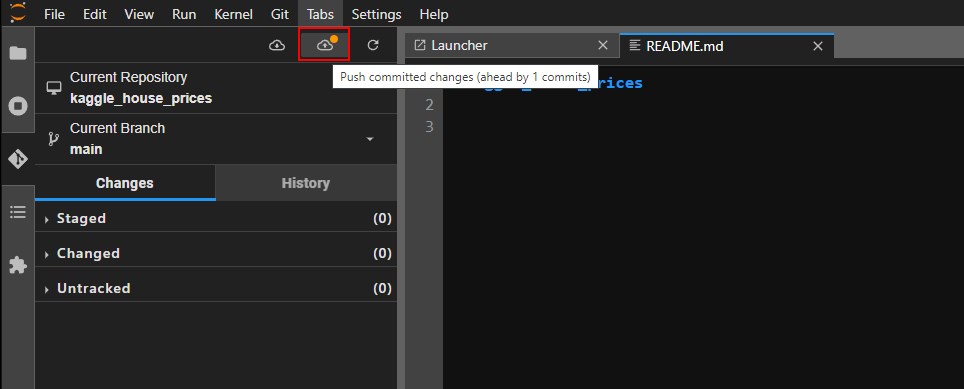
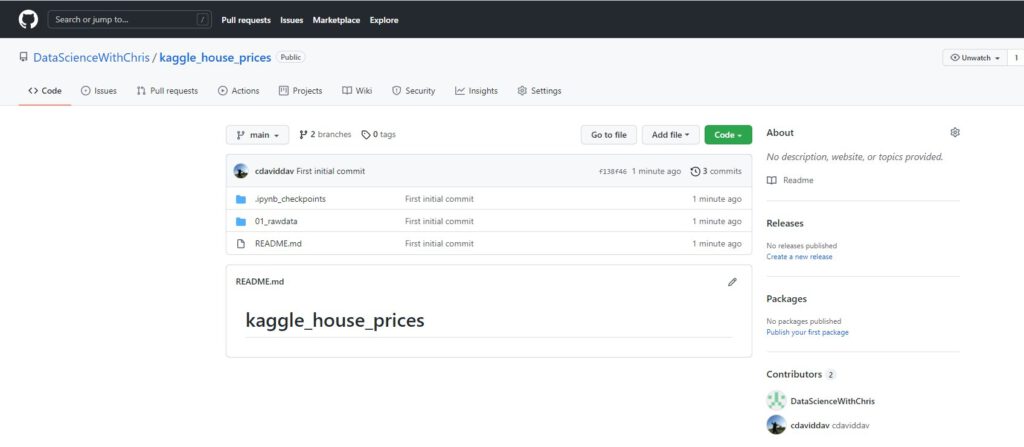
The last step is to push the changes with the commit to the GitHub repository. Now you should see the changes that we made in your GitHub repository.